
As Autoblog’s in-house photographer for the past decade, I have had the pleasure of photographing my fair share of cars. Now, stuck at home due to the coronavirus with an unfamiliar amount of time on my hands, I’m doing something I’ve always wanted to do: put together a series of articles on the basics of photographing cars.
For the sake of simplicity, I’m offering these tips for the photographer with the most minimal equipment — just a camera and a lens. No additional lighting, reflectors or additional equipment required. I also recognize that there are a variety of methods for photographing cars, and these just happen to be my preferences.
First up? Finding a location, placing your car, and framing the shot.
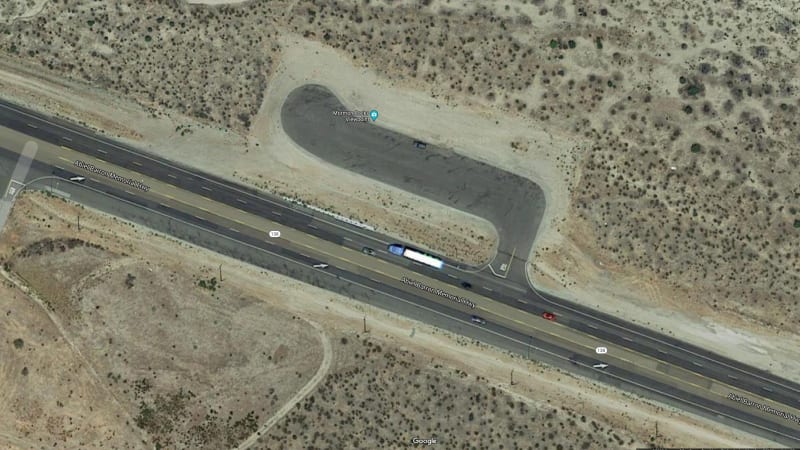
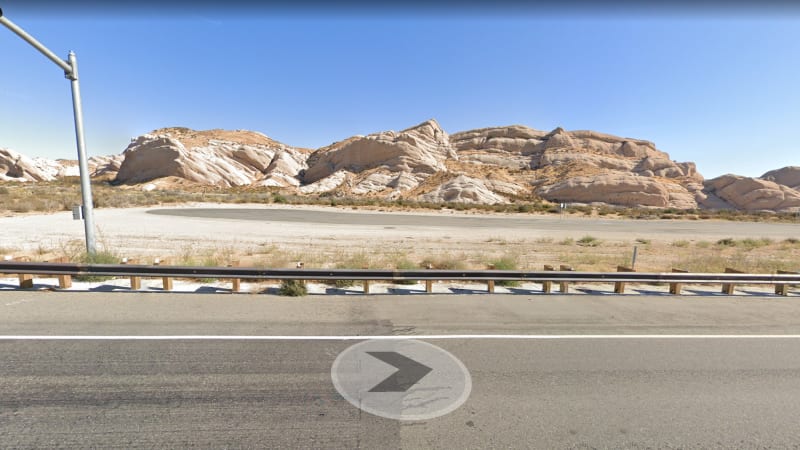
Back in the good old days I would spend hours driving around trying to find locations to photograph cars. Now, thanks to Google, I can easily scout locations from the comfort of my own home. I generally start big, using Google Earth, to find general areas that might work, and then use Google Street View to narrow down a specific area that meets my criteria. Of course, sometimes the data Google has is several years old, so it’s always necessary to check out the location in person to see if it looks the way it did online.
So what do I look for in a location? Every photographer has their own style, but I like to find locations with a good background and a clean, flat horizon line so that there won’t be many unwanted reflections in the car. This type of location will also make it easy to capture a good photograph with the most basic equipment since additional lighting and reflectors won’t be needed.
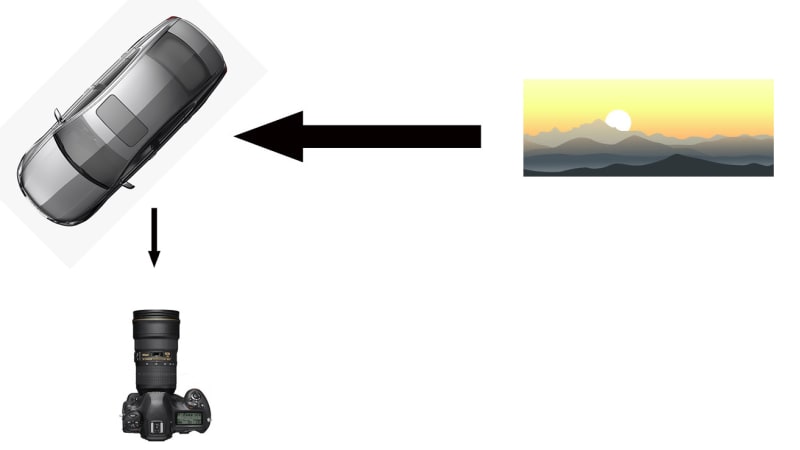
Once you find your location, the next step is to figure out where to place the car. Your first instinct might be to just park the car with the ideal backdrop behind it. However, the second factor, and perhaps the most important, is how the lighting hits the car. In my opinion, the reflections in the car are one of the most important aspects of the photo.
When placing the car for the best light, I like to think of the side of the car as a mirror. What do I want to reflect in the mirror? With the sun low in the horizon, preferably low enough so that there is only ambient and no direct light, it can provide a nice, soft glow in the side of the car. Angle the car accordingly.
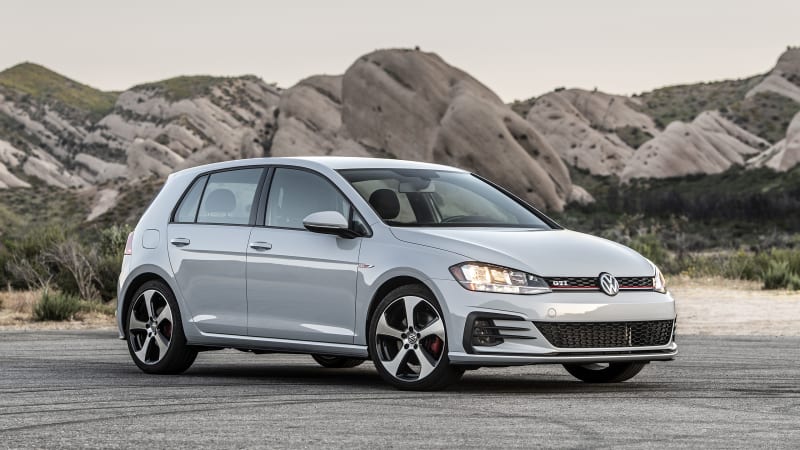
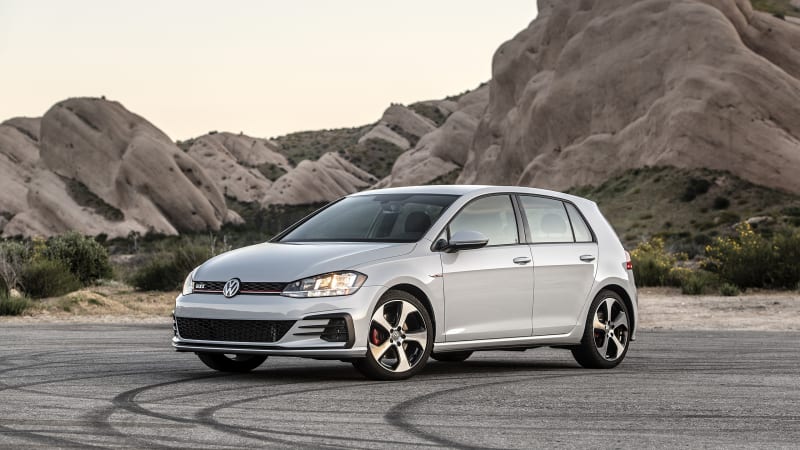
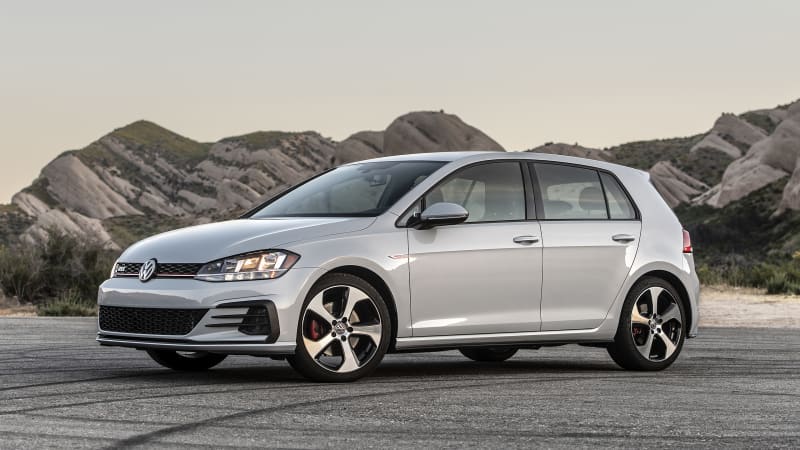
When the car is placed correctly, the result will be a warm glow across the side of the car. If you take a look at the examples below, you can see the first has the ambient light from the sun reflected in the car while the other does not. The car is parked in the exact same spot, but at different angles. The reflection also shows a clean horizon line void of light poles, signs, trees, etc.

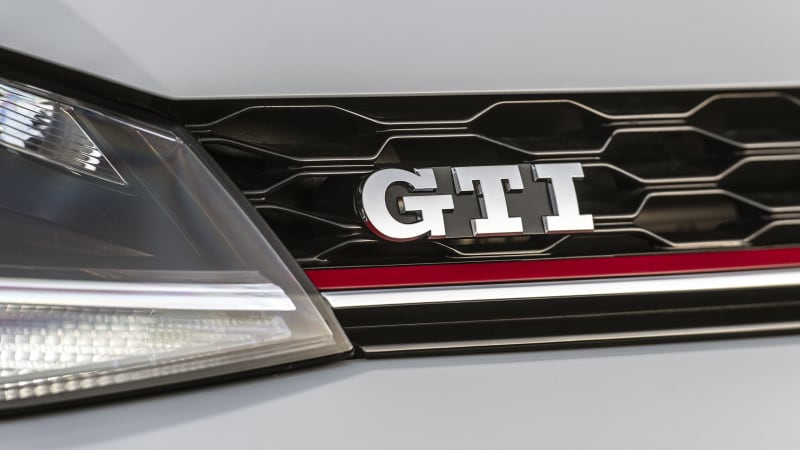
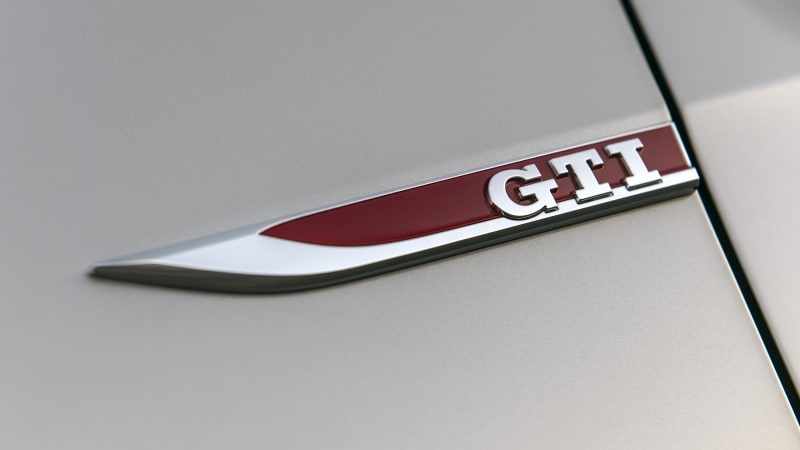
The same technique can also be applied to specific details of the car. Using the ambient light from the sun as the reflection will give a nice glow to specific details of the car and make them pop as seen below.
With the car placed, the next step is to frame the car in the viewfinder of the camera. For this, I usually follow one of the oldest guidelines in photography, the rule of thirds. The ground will usually make up the first third, and the background will make up the second two thirds. The background can be composed of one thing (the sky, rocks, etc) or it can be split up into two (mountains and sky, trees and sky, etc). The images below show one photo on the left with a solid background, and another on the right with the background split up into three sections (the sky is a little smaller due to the cropped 16×9 ratio we use on the site).
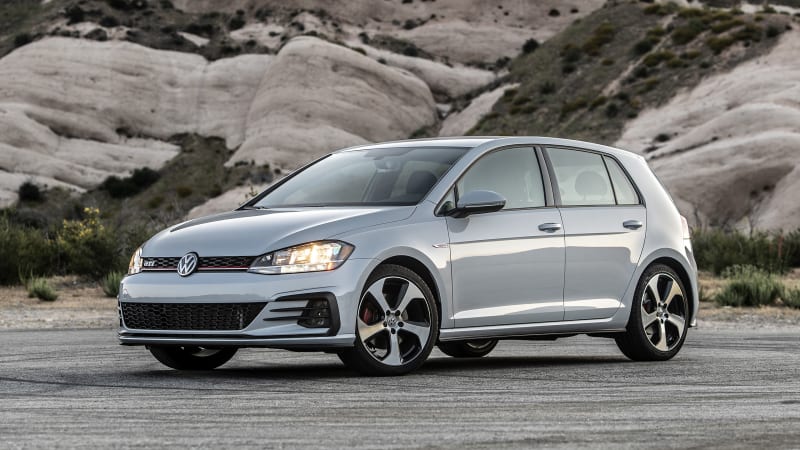
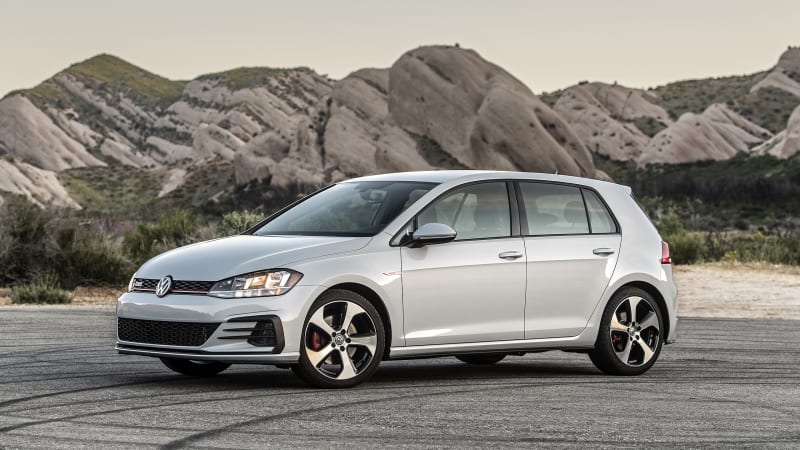
The second thing to look at when composing your photo is balance and spacing. In the images above there is fairly equal spacing from the car to the edge of the frame on the bottom and sides, and similar spacing in the image on the right to the top of the rocks. The background is balanced as well, with none of the components dominating one side or the other.
Below you can see some examples of unbalanced images. In the first, the background components are unbalanced with the right side of the image dominating. In the second, the spacing between the top of the car and the rocks in the background is too small and leaves the two components feeling too close. In the third, the car has been placed too far in the bottom of the frame, and in the last photo the car is too far right in the frame.


Hopefully these tips will help you out the next time you try photographing a car, and we’ll have more articles in the near future about the basics of car photography. If there’s question you would like answered or a specific topic covered, please leave your comments in the section below.
Related Video: